
salt box storage barn storage shed blueprints pdf
Discover the timeless charm of salt box storage barn sheds with our comprehensive blueprints. These plans offer a classic design, ample storage space, and durable construction, perfect for any backyard. Ideal for DIY enthusiasts, the blueprints include detailed instructions, materials lists, and step-by-step guides to build a functional and stylish shed. Elevate your outdoor space with a salt box shed that combines traditional aesthetics with modern practicality.
What is a Salt Box Shed?
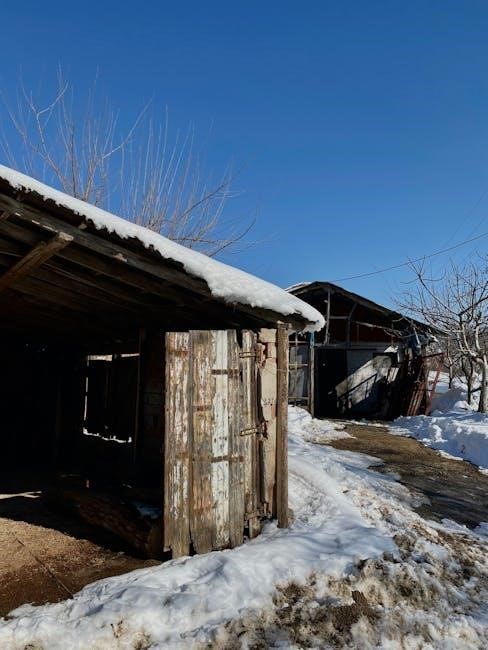
A salt box shed is a traditional-style storage shed featuring a distinctive roof design with two slopes, the rear being steeper than the front. This classic design offers both functionality and aesthetic appeal, making it a popular choice for backyard storage. Typically constructed with durable materials like wood, these sheds are ideal for storing tools, equipment, and outdoor gear. The salt box roof provides excellent weather protection and adds a charming, timeless look to any property. Available in various sizes, these sheds can be customized to suit individual needs, making them a versatile and practical solution for outdoor storage.
Benefits of Using Salt Box Shed Blueprints
Using salt box shed blueprints offers numerous benefits, including durable and weather-resistant designs. These plans provide clear instructions, ensuring a smooth construction process. With a classic, timeless appearance, salt box sheds enhance any backyard while offering ample storage space. The structured layout and material lists help minimize waste and save time. Additionally, these blueprints are cost-effective, allowing you to build a high-quality shed without overspending. Their versatility also lets you customize the design to fit your specific needs, whether for tools, equipment, or additional workspace. Overall, salt box shed blueprints are a practical and stylish solution for outdoor storage requirements.
Popular Sizes and Designs
Popular salt box shed sizes include 8×12, 10×12, and 12×20, offering versatile storage solutions. These classic designs feature a timeless aesthetic, blending functionality with charming appeal.
8×12 Salt Box Storage Shed Plans
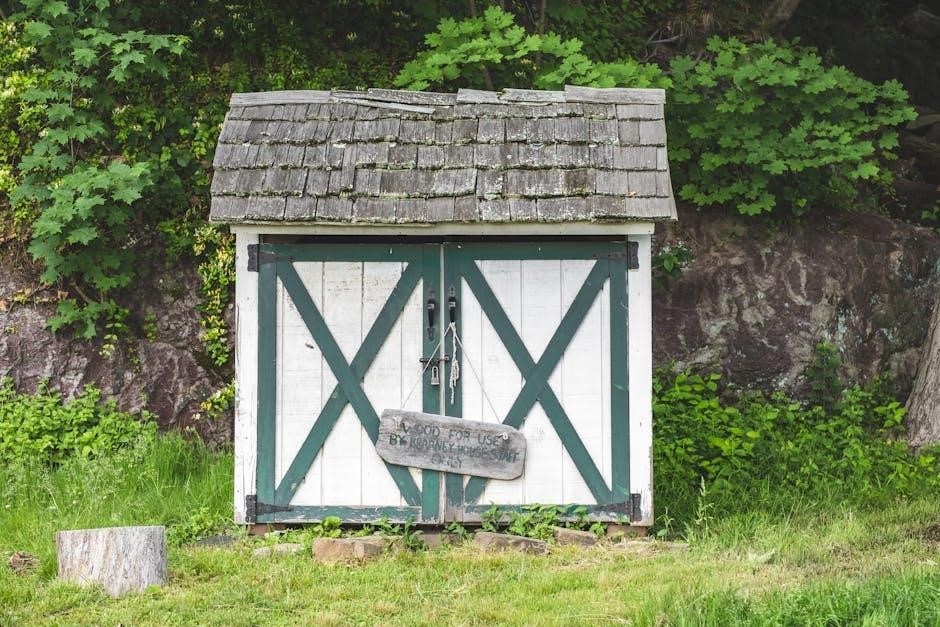
The 8×12 salt box shed is an ideal choice for smaller spaces, providing ample storage without compromising on style. This design features a classic salt box roof, offering a timeless aesthetic and practical weather protection. The 8×12 layout allows for efficient use of space, making it perfect for storing tools, gardening equipment, and other essentials. Available in PDF format, these plans include a detailed materials list, step-by-step instructions, and optional add-ons like windows and double doors. Perfect for DIY enthusiasts, this shed is easy to construct and customizable to fit your specific needs.
10×12 Salt Box Storage Shed Plans
The 10×12 salt box storage shed offers a spacious and versatile solution for backyard storage needs. With 120 square feet of interior space, it’s perfect for storing tools, equipment, and larger items. The salt box roof design adds a timeless, elegant touch while providing excellent weather protection. These plans are ideal for DIY enthusiasts, featuring detailed instructions, a comprehensive materials list, and customizable options. Available in PDF format, they include step-by-step guides for constructing the shed, from the frame to the roof. Optional features like windows and double doors allow for personalization, making this shed both functional and stylish.
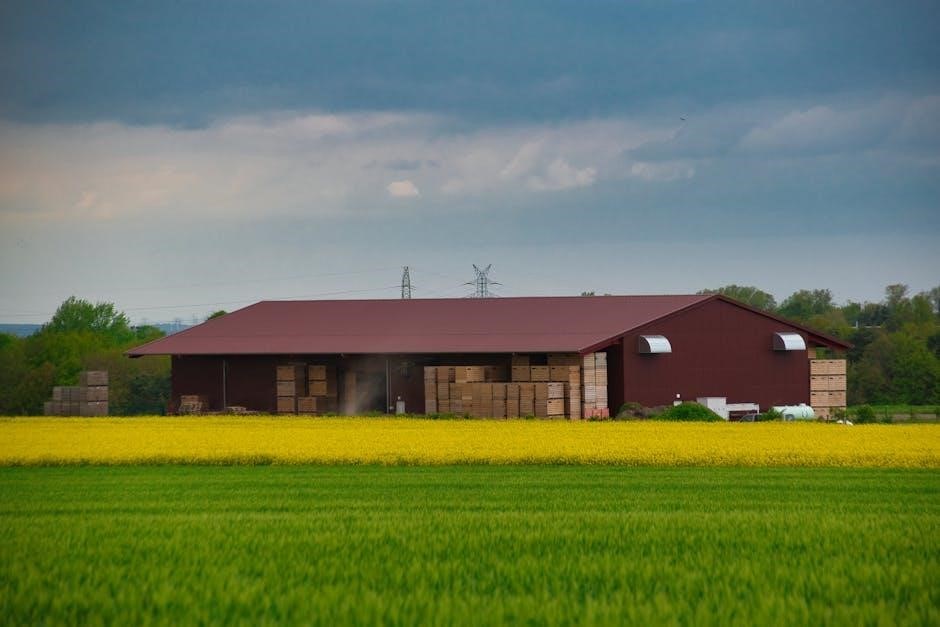
12×20 Salt Box Storage Barn Plans
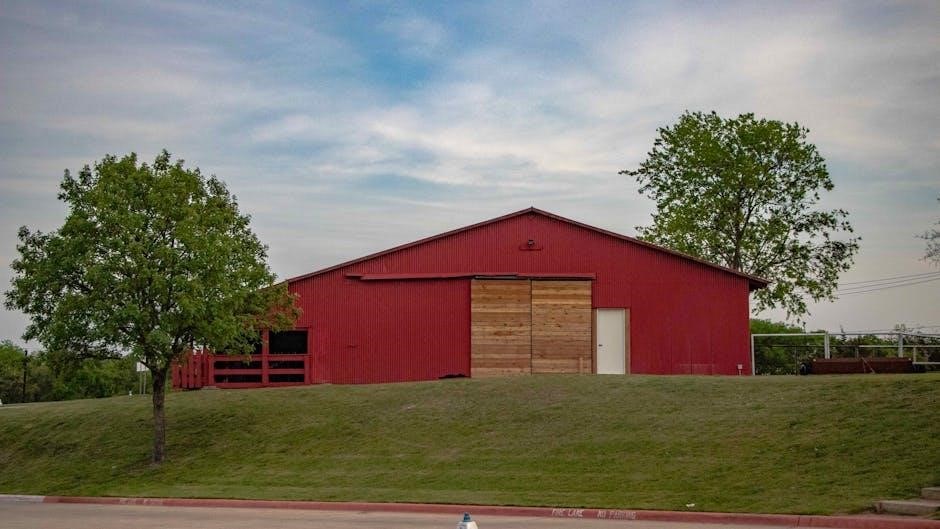
The 12×20 salt box storage barn plans offer a spacious and durable solution for large-scale storage needs. With a classic salt box roof design, this shed provides ample interior space for tools, equipment, and even vehicles. The plans include a detailed materials list, step-by-step instructions, and customizable options to suit various preferences. Optional features like windows and double doors enhance functionality and accessibility. Available in PDF format, these blueprints are ideal for DIY projects, ensuring a professional-grade build. The salt box design not only adds aesthetic appeal but also offers superior weather protection, making it a practical choice for long-term storage solutions.
Features of Salt Box Storage Sheds
Salt box storage sheds feature a classic roof design, offering excellent weather protection and a timeless aesthetic. They provide ample storage space, customizable options, and durable construction, ensuring long-lasting functionality and style for any backyard storage needs.
Salt Box Roof Design and Its Advantages
The salt box roof design offers a unique, asymmetrical appearance with a longer slope on one side and a shorter slope on the other. This design provides excellent weather protection, as the longer slope allows snow and water to slide off easily, reducing the risk of damage. The roof’s design also creates additional interior space, making it ideal for storage. Its classic aesthetic enhances any backyard, while its functionality ensures durability and low maintenance. The salt box roof is a practical choice for sheds, combining style and efficiency. It is a key feature of these storage sheds.
Storage Capacity and Space Optimization
Salt box storage barn sheds are designed to maximize storage capacity while maintaining a compact footprint. With various sizes like 8×12, 10×12, and 12×20, these sheds cater to different storage needs, from small tools to large equipment. The sloped roof design allows for additional loft space, increasing storage potential without compromising the shed’s aesthetic appeal. Customizable features such as shelves, cabinets, and pegboards further optimize interior space. Double doors and optional windows enhance accessibility and lighting, making it easier to organize and retrieve items. These sheds are ideal for homeowners seeking a practical and efficient storage solution that blends seamlessly into their backyard landscape.
Optional Features: Windows, Doors, and Add-ons
Salt box storage barn sheds can be customized with various optional features to enhance functionality and aesthetics. Windows provide natural light and ventilation, while double doors offer easy access for large items. Additional features like workbenches, shelving, and cabinets can be included to optimize interior space. Some plans also allow for the installation of lighting or electrical outlets, making the shed more versatile. Customizable add-ons such as flower boxes or decorative trim can add a personal touch. These optional features enable homeowners to tailor their shed to meet specific needs, whether for storage, workspace, or outdoor decor, ensuring a practical and personalized solution.
How to Read and Use Salt Box Shed Blueprints
Understanding the layout is key to building your shed. Follow step-by-step instructions, review materials lists, and use diagrams to ensure accuracy. Plan and execute with confidence.
Understanding the Blueprint Layout
Start by identifying the key sections of the blueprint, such as the floor plan, elevation views, and cross-sectional details. Review the materials list to ensure you have all necessary components. Pay attention to measurements and notations, as they guide accurate construction. Familiarize yourself with symbols and abbreviations used in the plans. Study the step-by-step instructions to understand the assembly process. Check for customization options, such as window and door placements. Use the diagrams to visualize the shed’s structure and ensure proper alignment during assembly. This thorough understanding will help you execute the project efficiently and achieve professional results.
Materials List and Shopping Guide
A detailed materials list is essential for a successful project. Typically, salt box shed plans include lumber for the frame, roof, and walls, as well as exterior-grade plywood for the floor and siding. Roofing materials like shingles or metal are also specified. Doors, hinges, and hardware are included to ensure secure access. The plans often provide a shopping guide, grouping materials by category for efficient purchasing. Pressure-treated wood is recommended for the foundation to prevent rot. Use the included cut list to prepare materials accurately. Refer to the tools section for equipment needs. Compare prices at local hardware stores or online retailers to stay within budget.
Step-by-Step Construction Instructions
Begin by preparing the site, ensuring it’s level and clear of debris. Construct the foundation using pressure-treated lumber for durability. Assemble the shed frame, starting with the floor joists and walls. Install the roof trusses, securing them to the walls for stability. Cover the roof with shingles or metal, ensuring a watertight seal. Add siding to protect the exterior and enhance aesthetics. Install doors and windows, following the blueprint measurements. Finish with trim and paint for a polished look. Detailed diagrams and instructions guide each step, making the process manageable for DIY builders. Customize with optional features like shelves or additional windows for functionality.
Tools and Materials Required
Essential tools include a circular saw, drill, and hammer. Materials needed are 4×4 lumber, tongue-and-groove plywood, exterior-grade pine, galvanized nails, screws, and roofing shingles.
Essential Tools for Building a Salt Box Shed
Building a salt box shed requires specific tools to ensure accuracy and efficiency. A circular saw is necessary for cutting lumber, while a drill and hammer are essential for assembling the frame. A tape measure and square help maintain precise measurements and alignment. A level ensures the shed is properly aligned, and wrenches and screwdrivers are needed for securing hardware. Additional tools like sandpaper, clamps, and ladders are also useful. Having these tools on hand will streamline the construction process and help you build a sturdy, long-lasting salt box shed.
Recommended Materials for Durability
For a durable salt box shed, use pressure-treated lumber for the foundation and framing to resist rot and pests. Install tongue-and-groove flooring for a sturdy base and exterior-grade plywood for the walls to ensure weather resistance. Vinyl or metal siding offers low-maintenance protection, while asphalt shingles provide a reliable roof covering. Reinforce with galvanized fasteners to prevent rust and ensure structural integrity. Adding weather-resistant trim and galvanized roofing nails enhances longevity. These materials ensure your shed withstands harsh weather conditions and remains secure for years, making it a worthwhile investment for outdoor storage.

Cost Estimation and Budgeting
Building a salt box shed typically costs between $1,500 and $5,000, depending on size and materials. Budgeting is straightforward with detailed plans and material lists provided.
Average Cost of Building a Salt Box Shed
Building a salt box shed typically ranges from $1,500 to $5,000, depending on size and materials. Smaller sheds (8×12) may cost around $1,500, while larger ones (12×20) can reach up to $5,000. Factors like lumber quality, roofing materials, and optional features influence the total cost. DIY plans often include detailed material lists, helping you budget effectively. For example, a 10×12 shed might cost $2,500, including $1,000 for lumber, $500 for roofing, and $1,000 for doors and windows. Using cost-effective materials and buying in bulk can help reduce expenses. Always compare material prices and consider long-term durability when budgeting.
Ways to Save Money on Materials
To reduce costs when building a salt box shed, consider using reclaimed or recycled lumber for non-structural elements. Shop during seasonal sales or bulk purchases to get discounts on materials like roofing and siding. Opt for prefabricated shed kits, which often include pre-cut lumber, saving time and waste. Compare prices at local hardware stores and online retailers to find the best deals. Additionally, plan your design to minimize material waste, and consider simpler finishes to lower expenses. Using cost-effective alternatives, like vinyl instead of wood for siding, can also help you stay within budget while maintaining durability and aesthetics.

Design Customization Options
Personalize your salt box shed with customizable siding, roofing, and color options. Add windows, doors, or shelving to meet your aesthetic and functional needs, enhancing both exterior and interior spaces.
Personalizing Your Shed’s Exterior
Personalizing your salt box shed’s exterior allows you to match your home’s style or add unique touches. Choose from various siding materials like vinyl, metal, or wood for durability and aesthetics. Paint or stain the shed to complement your property’s color scheme. Add decorative trim or shutters for a charming, rustic look. Consider installing lighting fixtures to enhance visibility and curb appeal. Customize the roof with shingles or metal for weather resistance and visual appeal. These exterior personalization options ensure your shed blends seamlessly with your backyard while reflecting your personal style.
Interior Customization Ideas
Transform your salt box shed into a functional and organized space with interior customization. Install shelves, hooks, or pegboards to maximize storage and keep tools within easy reach. Add a workbench for a dedicated workspace, perfect for DIY projects or repairs. Incorporate lighting options like overhead fixtures or task lights for better visibility. Consider adding cabinets or bins for additional storage solutions. Customize the flooring with durable, easy-to-clean options like epoxy or vinyl. Optional features like electrical outlets or a loft area can further enhance functionality. These interior customizations allow you to tailor your shed to your specific needs, creating a space that is both practical and efficient.
Construction Process
Building a salt box shed involves a systematic approach: prepare the site, build the frame, install the roof and siding, then add doors and windows. Follow the blueprints for accuracy and a professional finish.
Preparing the Site and Foundation
Before constructing your salt box shed, ensure the site is level and clear of debris. Mark the area according to your blueprints and check local building codes. For a sturdy foundation, you can use 4×4 pressure-treated skids or a gravel base. If you prefer a permanent structure, consider a concrete slab. Proper site preparation ensures the shed stands level and secure, preventing future structural issues. Drainage is crucial, so slope the ground slightly to direct water away. Follow the plans carefully to achieve a solid base for your salt box storage shed, ensuring long-term durability and stability.
Building the Shed Frame
Constructing the frame of your salt box shed begins with assembling the base using 4×4 pressure-treated lumber for durability. Follow the blueprints to secure the walls to the foundation with anchor brackets or screws. Use joist hangers to attach the roof support beams, ensuring the structure is square and level. The saltbox roof design requires precise measurements to achieve its signature sloped shape. Install rafters and ridge beams according to the plans, then add roof supports for stability. Double-check all connections for tightness and alignment before proceeding to the next step. A well-built frame ensures the shed’s structural integrity and longevity.
Installing the Roof and Siding
Begin by installing the roof, starting with the saltbox design’s signature sloped front. Use 2×4 rafters spaced 16 inches apart, securing them with galvanized nails. Apply roofing felt and shingles, ensuring a watertight seal. For siding, choose from vinyl, wood, or metal options, aligning panels with the shed’s frame. Use exterior screws to secure siding, leaving space for expansion. Trim edges neatly and install fascia boards to cover roof edges. Follow the blueprints for precise measurements and spacing. Proper installation ensures durability and protection from the elements, completing your shed’s exterior with a polished appearance.
Adding Doors and Windows
Install doors and windows according to your salt box shed blueprints to ensure proper fit and functionality. Start by framing the door openings with 2×4 lumber, securing them to the shed’s walls. Hang pre-made or custom-built doors, using hinges and a latch for secure closure. For windows, cut openings in the siding and frame them with 2x4s. Install glass or acrylic panels, sealing gaps with weatherproof caulk. Optional windows can add natural light and enhance the shed’s appearance. Ensure all openings are properly sealed to prevent moisture damage. Follow the blueprint’s specifications for precise measurements and placement, guaranteeing a professional finish to your storage shed.
Permits and Safety Considerations
Obtain necessary permits and ensure compliance with local building codes before starting your project. Follow safety guidelines, such as wearing protective gear and using ladders safely, to avoid accidents during construction.
Necessary Permits for Shed Construction
Before building your salt box storage barn shed, ensure you obtain all required permits. Check local zoning laws and building codes, as sheds over a certain size may need approval. If your shed includes electricity or plumbing, additional permits are likely necessary. Some areas also require inspections during construction. Failure to secure permits can result in fines or removal of the structure. Research your local regulations or consult with your city’s planning department to ensure compliance. Proper documentation and approvals will help avoid legal issues and ensure your project proceeds smoothly.
Safety Tips for DIY Shed Building
Ensure a safe DIY shed-building experience by following essential tips. Always wear protective gear, including gloves, safety glasses, and a dust mask. Keep the work area clean and clear of debris to prevent tripping hazards. Use proper lifting techniques to avoid injuries, and never work on a wobbly ladder. Ensure the building site is level and stable before starting construction. Avoid working in bad weather, as slippery surfaces can increase risks. Follow all tool manufacturer instructions and maintain sharp blades for cleaner cuts. Have a fire extinguisher nearby and keep a first aid kit accessible. Never rush—take breaks to stay alert and focused. Always have someone assist with heavy tasks to ensure safety and efficiency.
Maintenance and Upkeep
Regularly inspect and clean gutters, check for roof damage, and apply weatherproofing treatments to ensure your salt box shed remains durable and functional over time.
Regular Maintenance Tasks
Regular maintenance is crucial to extend the life of your salt box shed. Start by inspecting the roof for damaged or missing shingles and ensuring gutters are clear of debris. Check the walls for cracks or signs of rot, and repaint or seal as needed. Keep the shed’s interior dry by monitoring humidity levels and using dehumidifiers if necessary. Lubricate door hinges and tighten any loose screws or bolts. Additionally, trim nearby vegetation to prevent overgrowth and maintain proper airflow around the shed. Regular cleaning of windows and doors will also help maintain visibility and functionality. Schedule these tasks seasonally to keep your shed in top condition.
Protecting Your Shed from Weather Damage
To safeguard your salt box shed from weather damage, ensure the roof is watertight by inspecting for cracks or missing shingles and applying a weatherproof sealant. Use high-quality, weather-resistant materials for the siding and doors to withstand rain and snow. Install gutters to direct water away from the shed’s foundation. Trim nearby trees to prevent branches from damaging the roof during storms. Regularly inspect the shed’s foundation for signs of water damage or erosion. Apply a protective coating to the walls and roof to shield against UV rays and moisture. Additionally, secure doors tightly to prevent wind damage and ensure proper ventilation to reduce humidity buildup inside the shed. Regular maintenance will help protect your investment and extend its lifespan.
Examples and Case Studies
Explore real-life applications of salt box sheds in various sizes, from 8×12 to 12×20, showcasing their functionality as storage units, office spaces, and workshops, highlighting their timeless appeal and practicality in different settings.
Real-Life Applications of Salt Box Sheds
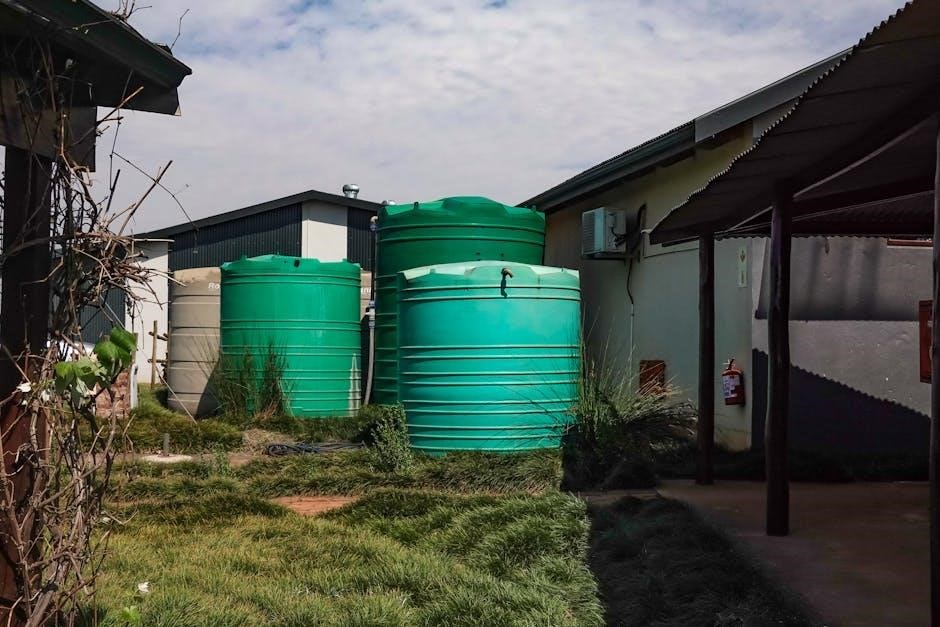
Salt box sheds are versatile and practical, serving as storage units, home offices, or workshops. Many homeowners use them to store gardening tools, seasonal decorations, or outdoor equipment. For instance, a 10×12 salt box shed can function as a compact workspace, while a larger 12×20 model can accommodate vehicles or heavy machinery. Some users have even converted them into charming guest houses or art studios. Their classic design and ample storage capacity make them ideal for various needs, ensuring functionality while enhancing yard aesthetics. These sheds are also eco-friendly, as they can be built using reclaimed materials, as seen in a 400-square-foot water-storage shed in Tucson.
Success Stories from DIY Builders
Many DIY enthusiasts have successfully built salt box sheds, transforming their yards into functional and beautiful spaces. One builder created a charming 8×12 shed for gardening tools, while another crafted a 10×12 model as a home office. A homeowner in Tucson built a 400-square-foot shed using reclaimed lumber for water storage, showcasing eco-friendly possibilities. These projects highlight the versatility and practicality of salt box designs, allowing builders to customize based on their needs. The sense of accomplishment and the functional benefits have made these sheds a rewarding addition to many properties, proving that DIY projects can yield professional-grade results.
Building a salt box shed is a rewarding DIY project that combines classic design with functionality. With detailed blueprints, anyone can create a durable and charming storage solution, achieving a sense of accomplishment and enhancing their property.
Final Thoughts on Building a Salt Box Shed
Constructing a salt box shed is a fulfilling project that offers both practicality and aesthetic appeal. With the right blueprints, you can achieve professional results, ensuring durability and functionality. The classic salt box design not only enhances your backyard but also provides ample storage space. By following detailed plans, you can customize the shed to meet your specific needs, whether it’s for tools, equipment, or additional workspace. The sense of accomplishment from building your own shed is unparalleled, making it a worthwhile investment for any homeowner.
Encouragement to Start Your Project
Starting your salt box shed project is an exciting journey! With free, detailed salt box storage barn shed blueprints PDF, you have everything needed to begin. These plans provide step-by-step guides and materials lists, making it easy for both novices and experienced builders. Imagine the satisfaction of creating a functional and attractive addition to your backyard. Don’t hesitate—gather your tools, follow the instructions, and watch your project come to life. Building a salt box shed is a rewarding experience that adds value and storage to your home. Start today and enjoy the benefits of your new shed!